How to Scan Old Physical Photos With Your Smartphone for AI Videos
Quick answer
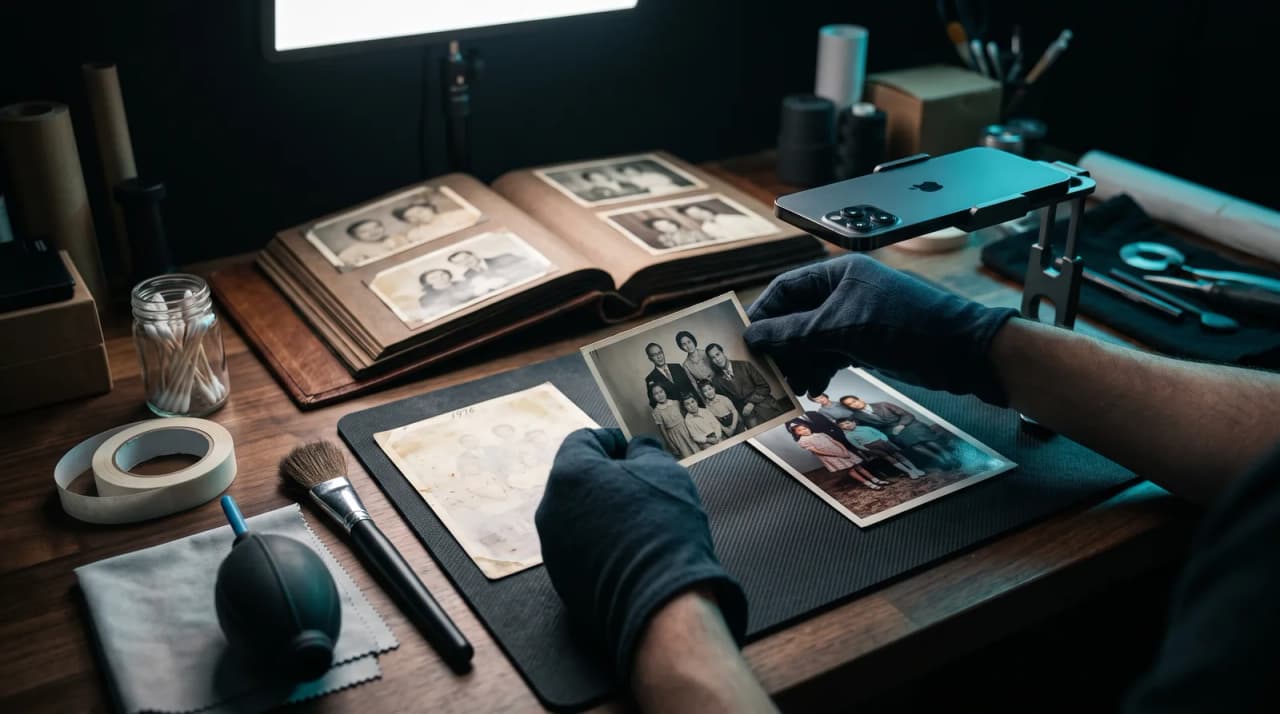
You can digitize old physical photos without glare or distortion by using natural, indirect lighting and a dedicated smartphone scanning app.
By LifeStory AI Editorial · ·
In this guide (10 sections)
Once digitized, these high-quality scans are perfect for creating emotional, cinematic evolution videos with LifeStory AI.
Your childhood memories are trapped in dusty albums, slowly fading while still stuck behind crinkly plastic. A quick phone snapshot feels easy until you open the file - glare hides half a face, the corners skew, and that "scan" is worse than the print on the table. Proper digitizing is the first real step toward a video worth showing.
Why do phone pictures of old photos always glare?
Vintage glossy prints behave like tiny mirrors. Direct flash or ceiling spots bounce straight into the lens and blow out cheeks, eyes, or handwritten dates on the back. The problem is physics, not your phone model.
Sources: Library of Congress photo preservation FAQ (opens in new tab).
Once you treat scanning like a small studio setup instead of a casual snap, results jump immediately - no new hardware required.
Imagine emailing a clean scan to your sibling
Imagine you text your brother a file of Grandma at twenty - no white streak across her forehead, edges square, colors true - and he replies, "Where did you find this?" You did not find a new print; you scanned the same creased photo on the kitchen table using window light and a free app. That reaction is what good digitizing feels like.
What is the Flat-Light-Fill setup?
Use the Flat-Light-Fill method - three positioning rules before you tap shutter:
[ Window light ]  -->  [ Photo flat on table ]  <--  You (phone parallel above)
                              ^
                    Optional white paper "fill"
                    opposite window to soften shadows
- Flat: Photo on a matte surface; remove album plastic first
- Light: Indirect daylight from a side window - sun must not hit the print directly
- Fill: Hold phone parallel above center; use grid lines to keep edges square
For deeper lighting theory, see best lighting for digitizing photos.
App comparison for home scanning
| App | Best feature | Cost |
|---|---|---|
| Google PhotoScan | Multi-angle glare removal | Free |
| Apple Notes scanner | Auto-crop, built into iOS | Free |
| Photomyne | Batch scanning several prints | Freemium |
Dedicated scanning apps beat the default camera because they merge exposures or detect edges automatically.
Flat-Light-Fill at a glance
Side window light
   ↓
Flat print
   ↓
Parallel phone
   ↓
Clean file
How should you hold the phone to avoid warped faces?
Lay the print flat. Stand directly over it so the lens plane matches the paper plane. Tilt even slightly and faces stretch wider or taller - AI morphing later amplifies that distortion.
Shoot one photo per print at highest resolution. Crop afterward rather than zooming digitally while shooting.
What prep steps matter before you scan?
Peel photos out of magnetic albums when safe - plastic adds double glare. Dry microfiber only; no liquid cleaners on emulsion. If a print sticks, stop and scan through the sleeve or consult a conservator.
Stack finished scans in a folder named by year so chronological sorting takes minutes, not hours.
What do you do with scans once they are clean?
Upload 5-10 of your best chronological portraits to LifeStory AI to build an evolution video without manual editing. Pick images where the subject faces forward and eyes are visible - the same criteria that make smooth AI transitions work.
LifeStory AI stores uploads encrypted, uses them only to create your video, and deletes them on request. That matters when you are sending childhood scans through the cloud.
Common smartphone scanning mistakes
- Using flash indoors. It guarantees hot spots on glossy prints.
- Shooting at an angle while rushing. Perspective warp is hard to fix later.
- Leaving prints in album sleeves. You scan glare plus plastic scratches.
- Ignoring resolution settings. Export at full quality before uploading anywhere.
- Mixing screenshots and scans in one folder. Screenshots are lower fidelity and confuse sort order.
- Skipping a test upload. One preview render catches bad files early.
Cross-method note: After Flat-Light-Fill scanning, run faded prints through the FADE Protocol before upload — color drift causes more visible morph flicker than mild blur.
What have we noticed?
We've noticed morphing breaks hardest on scans with skewed corners — a five-degree phone tilt becomes a visibly warped cheek in the final transition.
Our editorial take
We think overhead flash snapshots are almost always worse than a two-minute window-light reshoot of the same print.
A surprisingly specific detail
Scan in the morning or late afternoon when side light is soft; noon sun through the window creates hard shadows that AI reads as facial lines.
Your smartphone scanning checklist
- Prints removed from plastic sleeves when safe; dust brushed off
- Indirect window light set; phone held parallel above print
- Scanning app used (not default camera flash)
- Full-resolution exports saved with year-based filenames
- 5-10 best faces selected in chronological order
- Test evolution video generated to confirm quality
Frequently asked questions
Can I scan curled photos without flattening them?
Gentle weight between acid-free paper for a day helps minor curl. Never force stiff bends - scan in a curved holder and accept slight edge softness instead of cracking emulsion.
Are scanning apps enough for very faded prints?
Apps fix glare and geometry; fading needs light correction afterward. The same goal — a clean Bridge Frame the morph will not flag — carries into our faded-photo guide, which recovers contrast before you upload.
Should I scan the back of prints for dates?
Yes when handwriting notes years or names - capture metadata in a separate scan, then rename the front file accordingly. The video uses front faces only, but dates prevent sort errors.
How many photos do I need for a video?
A handful of clear life-stage portraits is enough. Quality and order matter more than album size.
Do I need a light box?
No. Indirect daylight plus a white paper bounce opposite the window handles most home setups.
More in this topic
How to Prep Faded Historical Photos for Clear AI Video Morphing
To prepare faded historical photos for AI video morphing, gently clean the physical prints and scan them…
How Many Photos Do You Need for a Smooth AI Facial Evolution Video?
You need at least three clear photos for a smooth AI facial evolution video; a focused set of well-spaced anchors beats a long stack of similar shots.
How to Select the Perfect Opening Image for Maximum Emotional Impact in a Timeline Film
The perfect opening image for a timeline film establishes the emotional baseline by featuring a clear,…