How to Avoid Glare: Best Lighting Setups for Digitizing Family Albums
Quick answer
The best way to avoid glare when digitizing glossy family photos is to use diffused, indirect natural light or position two artificial lights at…
By LifeStory AI Editorial · ·
In this guide (9 sections)
45-degree angles. Once your photos are cleanly digitized, you can turn them into a beautiful, shareable cinematic video (after restoring faded prints if needed) using LifeStory AI.
You open the album to scan Grandma's wedding portrait and your phone screen fills with a white oblong where her face should be. Glossy paper fights you. Every direct light source becomes a mirror. The frustration is not impatience — it is the sense that one bad capture could waste the only print you have.
Why do glossy prints reflect so much light?
Vintage and lab prints often use high-gloss paper for color depth and surface protection. Smooth coatings reflect light sources straight back toward the lens. Fixing glare means changing how light meets the surface, not buying a more expensive phone.
Sources: National Archives tips for storing family photos (opens in new tab).
What is the Clear Capture Triangle?
The Clear Capture Triangle balances three variables for glare-free digitizing:
- Light angle — Side or diffused, never co-axial with the camera.
- Surface distance — Camera parallel to the print, not tilted.
- Diffusion — Soft light source, never bare bulb or flash.
When one corner fails, glare returns. Adjust angle before you buy new gear.
What tends to work first
Our recommendation: try indirect window light on an overcast day before setting up lamps. It costs nothing and solves most home scanning sessions.
Imagine this: the print you almost discarded
Imagine you find one surviving photo of a great-grandparent — glossy, slightly curled, irreplaceable. You snap it under the kitchen ceiling light and get a white streak through the eyes. You try again near a shaded window with a white sheet diffusing the glass. The second capture shows cheekbones you have never seen in digital form. That second attempt is what makes a grandparents legacy video possible later.
Clear Capture Triangle at a glance
Light source
   ↓
Subject angle
   ↓
Camera position
What is the best natural light setup?
Use indirect daylight: a table near a large window, sun not hitting the print directly. Overcast skies act as a giant softbox. Stand so your body does not cast a shadow across the album.
If sunlight is harsh: tape a white sheet or sheer curtain over the window. You are building diffusion, not darkness.
How do you use artificial light without glare?
When windows fail — night sessions or large batches — use copy lighting:
- Camera/smartphone straight above the print
- Two identical lamps on opposite sides
- Both aimed at 45 degrees toward the center
Light hits the gloss and bounces away from the lens instead of back into it. Match bulb color temperature on both sides to avoid half-blue, half-yellow casts.
| Setup | Best for | Equipment | Glare risk |
|---|---|---|---|
| Overcast window | Daytime, beginners | Table, window | Low if indirect |
| Diffused window | Sunny days | Sheet, tape | Low |
| 45-degree lamps | Night, batches | Two matching desk lamps | Very low when angled |
| Overhead room light | Quick snaps only | Ceiling fixture | High |
| Camera flash | Never for gloss | Built-in flash | Guaranteed glare |
Cross-method note: Clean scans are step one; the Anchor-Point Density Scale keeps your upload set from undoing that work with near-duplicate frames.
What have we noticed?
We've noticed uploads where every scan has a different crop ratio produce jittery transitions — normalize square or 4:3 exports before upload.
Our editorial take
Our editorial take: fixing fade and skew at scan time beats aggressive AI restoration every time.
A surprisingly specific detail
Wipe phone lens and print glass with a dry cloth — fingerprint haze reads as soft focus in morph output.
What should you do after clean digitization?
Files on a hard drive rarely get watched. A short evolution film turns flat scans into something relatives share. LifeStory AI accepts your glare-free exports and builds a cinematic sequence in minutes. Uploads are stored encrypted, used only to create your video, and deleted on request.
Pair clean captures with guidance on how many photos produce smooth transitions when you select anchors for the video.
For phone-only workflows, see scanning old photos with a smartphone.
What are common digitizing mistakes?
- Leaving flash on — one burst ruins an irreplaceable print capture.
- Shooting at an angle to "avoid" glare — perspective distortion is harder to fix than glare.
- Using mismatched lamp bulbs — split color temperature looks like damage that is not there.
- Skipping dust on the print and lens — specks become permanent in the scan.
- Rushing curved album pages flat — gentle flattening with a clear acrylic sheet beats cracked emulsion.
- Archiving RAW glare versions "just in case" — label and delete failures so you do not upload the wrong file later.
What is your digitizing session checklist?
- Turn off flash and overhead-only lighting
- Apply Clear Capture Triangle (angle, parallel camera, diffusion)
- Wipe lens with microfiber cloth; dust print lightly
- Capture one test frame and zoom to check eyes for white streaks
- Save masters in a dated folder before any editing
- Restore faded scans if needed, then select video anchors
Frequently asked questions
Can I digitize glossy photos with a flatbed scanner?
Yes, if the scanner lid pressure is gentle and the glass is clean. Some scanners include anti-glare modes — test one page before batch scanning.
Does a ring light work for photo albums?
Usually no. Ring lights surround the lens axis and mimic flash behavior on gloss.
What resolution should phone captures use?
Use your phone's highest native setting for irreplaceable prints. You can downscale later; you cannot recover lost detail.
Should I wear gloves?
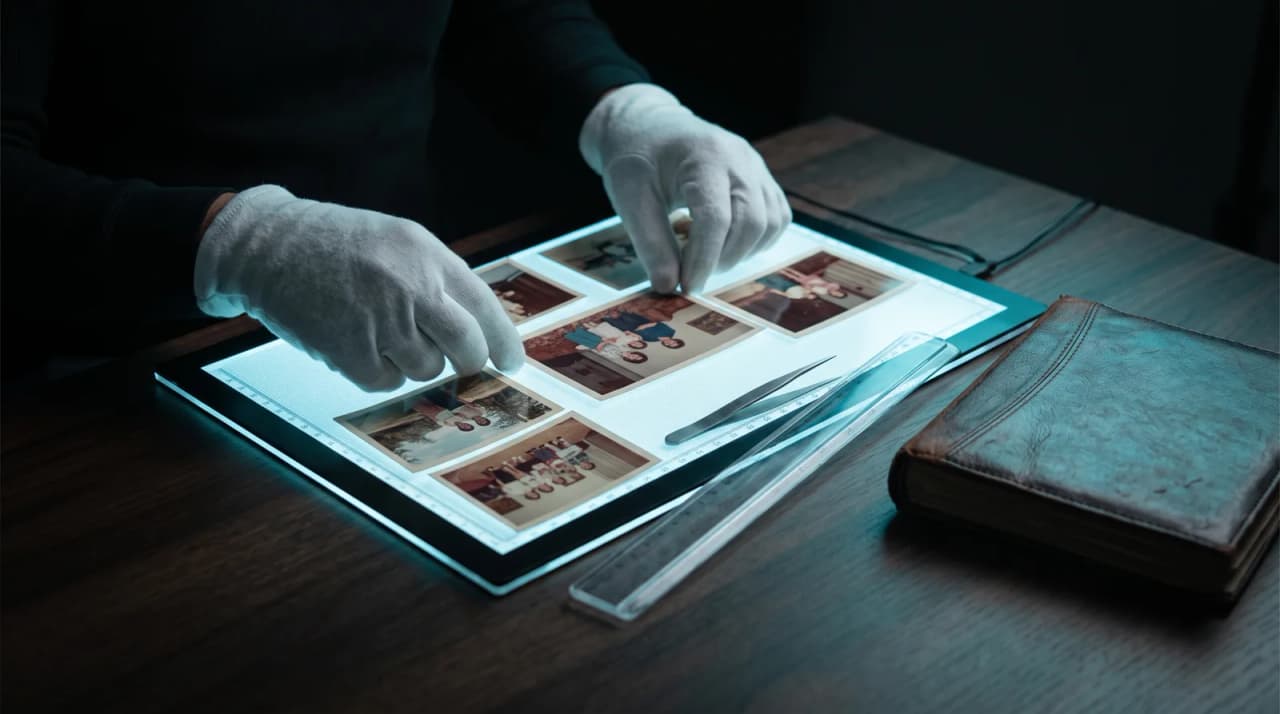
For fragile vintage prints, cotton gloves help. For sturdy lab glossies, clean dry hands often suffice.
When is glare acceptable?
Almost never for faces. Slight gloss on background borders may be cropped away if the face is clean.
More in this topic
How to Prep Faded Historical Photos for Clear AI Video Morphing
To prepare faded historical photos for AI video morphing, gently clean the physical prints and scan them…
How Do I Quickly Sort Unorganized Digital Photos Chronologically for a Video?
You can quickly sort digital photos chronologically by using your phone's built-in smart search features, filtering by specific years, and adding…
How to Scan Old Physical Photos With Your Smartphone for AI Videos
You can digitize old physical photos without glare or distortion by using natural, indirect lighting and a dedicated smartphone scanning app.